MSEide MSEgui first step
My first mse program.
This introductory article for beginners. It contains step by step instructions to create the first program.
Naturally, the software MSEide + MSEgui should already be installed.
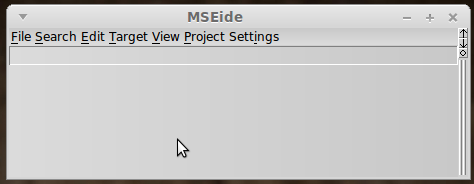
Start MSEide.
The screen should get a window similar to the following:
Let's create a new project.
Project menu (Project) - New (New) - From template (From Template).
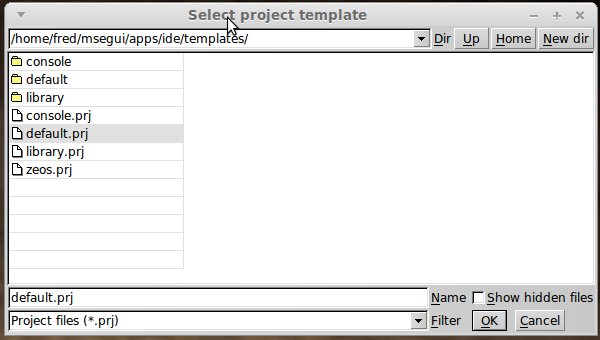
On the screen you get the following:
At this point MSEide prompts you to select a template file for the new project.
We can use or default.prj or default_all_langs.prj.
Template default.prj has a smaller executable file, default_all_langs.prj will connect automatically language constants, and dialogs (eg, file open dialog), windows maintenance...
For this first program we do not have any dialog and service windows, so it is sufficient template default.prj.
Select and press Ok.
Click new. Cat-g (New dir) to create a directory.
In the dialog box that appears, type "hellodemo" and click Ok.
In the second field from the bottom of the window New Project (New Project), enter "hello".
Prj extension will be added automatically.
Now click Ok:
You have created your first project !
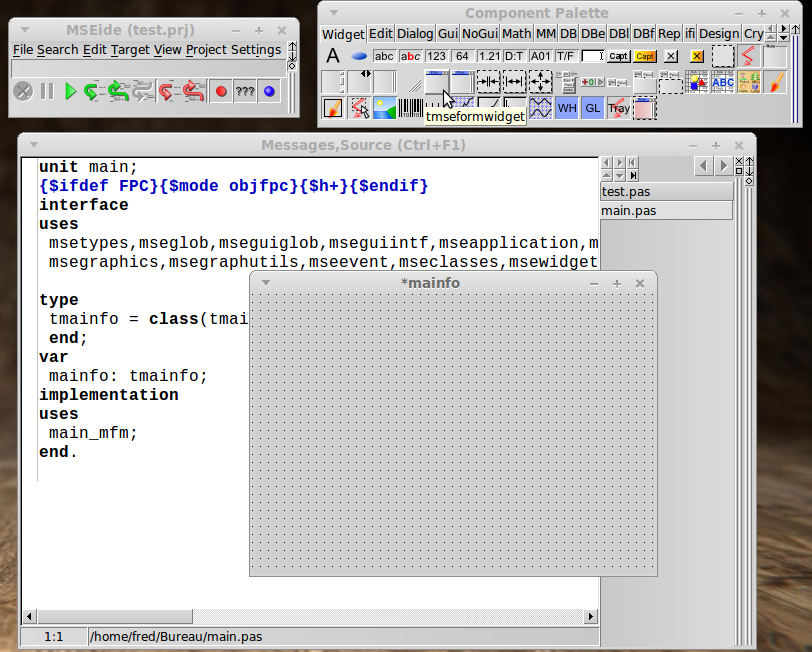
You should have at least four windows :
- 'MSEide (hello.prj)'
- 'Component Palette (Component palette)'
- 'Messages'
- 'Source Code (Source, Messages) (Ctrl + F1) 'and' * mainfo '.
Click on the box '* mainfo' (the smallest).
Now you've got another important window => 'Object Inspector mainfo (Object inspector mainfo)'.
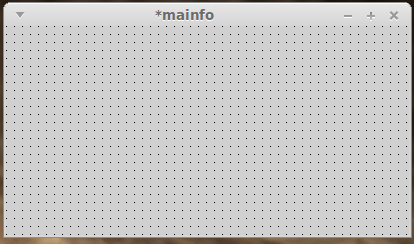
For added convenience, grab the mouse box '* mainfo' for any angle and a little stretch.
You will get something like this:
This is the main form of your project - its main window.
On it you will put the necessary visual or non-visual components.
Take components needed from the ('Palette components (Component palette)'):
The components are located on multiple pages.
To switch between pages click on tabs at the top of the window.
If you hold for a while the mouse pointer over a component, you will be prompted with the class (type) of this component.
Now get component Widget tbutton and once click on it
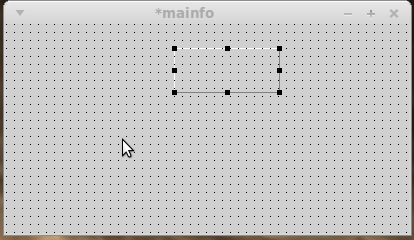
Now click on the main form of your project. Component appeared on the form.
Place the mouse over the component.
Now press the left mouse button and hold, move it to the side.
Release the mouse button. Thus it is possible to move the component form.
To change the size, perform the same steps with the black squares arranged around the perimeter of the component.
Place the component in the right top of the form:
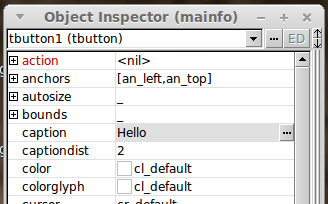
Go to the ('The object inspector mainfo (Object inspector mainfo)').
In the drop-down list, select (if there is not already selected) tbutton1 (tbutton).
Below in the box to the right of the field caption, type the - button.
Now you have set the value of the caption in the 'button:
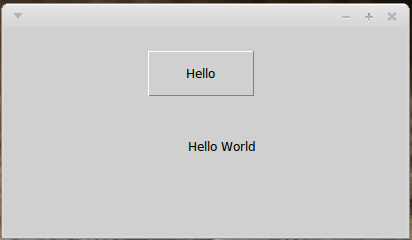
Get the component type tlabel and place it on the left of our first button.
Go to the Inspector window and select the object tbutton1 (tbutton) and
set the value of a field in onexecute 'pressed' and press the Enter key on the keyboard.
In the description of the class will be added the setnewaction method,
and in the text of the module will be an empty implementation of this method.
This method (procedure) will be called when the button is pressed.
Go to the editor ('messages, source code (Source, Messages) (Ctrl + F1)') and edit the procedure pressed:
 procedure tmainfo.pressed(const sender:TObject);
 begin
 tlabel1.caption:='Hello World!';
 end;
Back in the form with a second button, write 'output' and in the procedure body onexecute,
called by pressing the (procedure name as you want), register one line:
application.terminated:=true;
Run one of three ways:
- By clicking on the green triangle in the main window;
- Pressing F9;
- In menu (Target) - Continue to start (Continue)
This wiki was greatly inspired by web page of Alexei Yu Ulasevich (STAKANOV) => http://freepascal.ru/article/mse
