LazPaint File
│
English (en) │
suomi (fi) │
You can load images as a whole with the File menu or use files to embed them in the current one.
LazPaint provides an image format (*.LZP) to save all kinds of images (layered or not, with transparency or not). It is a lossless format, it means that like PNG, the exact picture is saved, not an approximation of it. This format is faster than PNG and provide layers however the files are slightly bigger. If you want to have a PNG-like compression with layers, you can use the OpenRaster format (*.ORA).
Create a new file
Menu: File > New
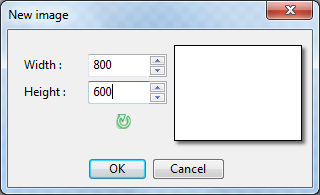
A window asks you to key in the width and height and a preview displays the proportion of the image. The rotate button allows to swap width and height.
Opening a file
Menu: File > Open
With the File menu, you can open a simple or layered image to edit it, or import one image from an icon (*.ICO, *.CUR) or an animated GIF.
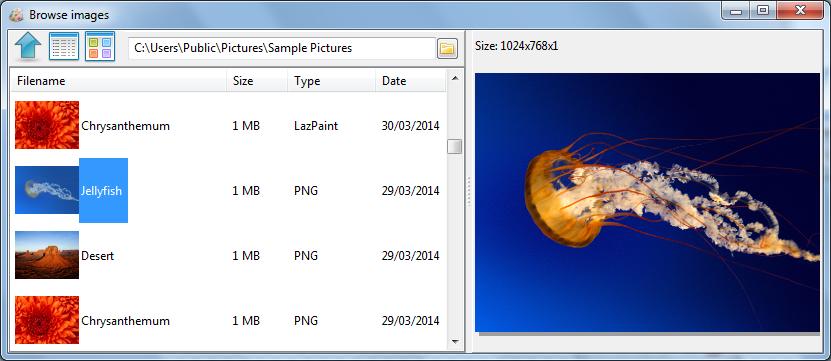
Version 6.0 introduces a browser for images and the importation of flattened images from Photoshop (*.PSD).

File formats
The raster image formats handled by LazPaint are the following:
With layers:
- LZP (read/write): LazPaint file format
- ORA (read/write): OpenRaster exchange file format (preserve SVG layers)
- PDN (read): Paint.NET images
- oXo (read): PhoXo images
- PSD (read flattened): Photoshop images
Flat images:
- BMP (read/write): uncompressed bitmaps (including with alpha channel, however many programs do not read the transparency information)
- GIF (read/write any frame): user can choose a frame if animated
- ICO/CUR (read/write any size): icon, user can choose a size
- JPEG (read/write): the well known compression however lossy
- PCX (read/write): Personal Computer eXchange
- PNG (read/write): Portable Network Graphic
- SVG (read): Scalable Vector Graphic
- TGA (read/write): also called Targa
- TIFF (read/write any page): not all compression modes are supported
- WebP (read/write): Google Web image
- XPM (read/write): X PixMap (small C-like format)
- XWD (read): X Window Dump (screen capture)
Raw images (read):
- DNG: Digital Negative
- CR2: Canon Raw Image
- NEF: Nikon Electronic Format
- ARW: Sony Digital Camera Image
...
Reload a file
Menu: File > Reload
This menu reloads the current file using last filename. It cancels unsaved changes.
Saving a file
Menu: File > Save
If the file you opened can be written by LazPaint as well, then you can simply click on the diskette button to overwrite the existing one. Note that you need to be careful with Jpeg files because the file is not saved in full quality, so better use another format like LZP and PNG.
Adding a layer from a file
The layer window has a button to import an image and to add it directly in the layer stack. Note that the image is not resized so it may be clipped. If you want to resize or to apply a transformation, use the texture tool.
Texture tool
In the toolbar, there is a "no tex" icon followed by an "open" button. You can open any texture and then use it with the drawing tools. The texture mapping tool in particular proposes to stretch and to apply a perspective transform if desired in order to size it perfectly to your image.
Importing 3D files
Menu: File > Import 3D object
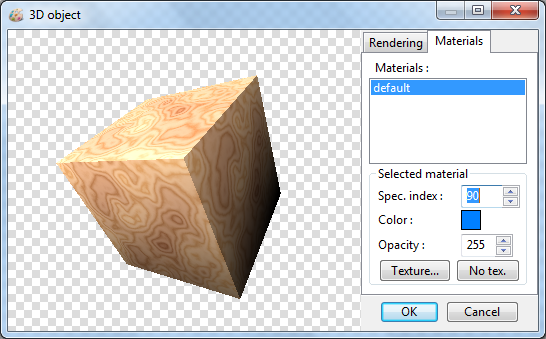
You can import files in Wavefront format (*.OBJ) with the File menu. Then apply the rotation and the color you want, and it will be rendered in the current layer.

